Sampling stormwater from an outlet pipe is often the easiest scenario to sample for your stormwater permit requirements. In most cases, the pipe is easy to identify, provides ample concentrated flow, and usually can be sampled without the need for special tools. That said, there are still several things to keep in mind to ensure that sampling goes smoothly and you get good-quality results.
1. Safety
Outlet pipes are often located on the outskirts of our property in areas that are infrequently trafficked and see little to no maintenance. These pipes can be located on steep slopes, be overgrown with blackberries, or be located right on the edge of a water body. No matter the situation, you should always take time to consider your safety when approaching a sampling event.
As mentioned in our Sample Handling article, sampling with a helper can be a great way to ensure that sample bottles are handled properly. In cases of sampling an outlet pipe, having a helper can also add an important element of safety. A helper can help reduce the weight of equipment having to be carried down a steep slope, they can help you navigate a muddy or bramble-covered area, and they are an extra pair of eyes on the less traveled areas of your facility who can get help in an emergency.
Other sampling safety considerations:
- Clear a path to your sample location. During a dry day, clear any blackberries or other brush from around your outlet pipe to prevent trip hazards and to make sampling a much more pleasant experience.
- Consider wearing a life jacket if sampling near a water body. Steady rainfall can quickly turn even a modest creek into a dangerous situation.
- Remember your site safety procedures. Some areas may require a hard hat, safety glasses, boots, or a high visibility vest to access. Always follow your facility’s safety procedures when sampling.
- Consider permanently changing your sampling point. If your sample point is inaccessible due to safety, it is a good idea to reach out to Ecology to change your sampling point to somewhere you can access safely. This isn’t as easy as just deciding to sample elsewhere, it will require a sample point update form, documentation, and approval from Ecology.
- Remember, you are not required to sample during unsafe conditions. Don’t brave it out during a lightning storm, or in flood conditions. Document these conditions to the best of your ability and wait until the next sampling opportunity. If no such opportunity presents itself, you can report the unsafe conditions on your DMR.
2. Clean Your Sample Point
![]()
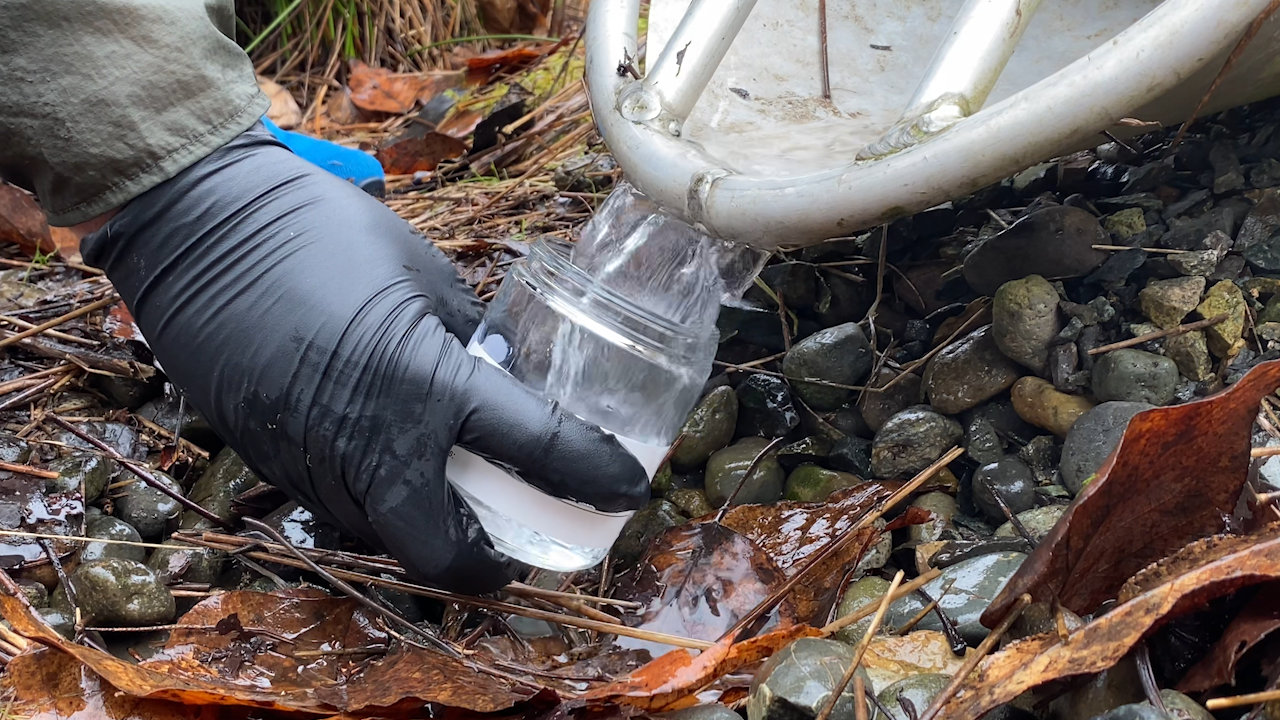
During site inspections, and before taking your sample, make sure you take a few seconds to remove any trash, accumulated debris, or other material from your outlet pipe. This material can have a significant impact on your sample results and can prevent you from getting an accurate picture of what is happening at your facility. You don’t want this material to end up in your sample bottle, as it can impact sampling results for things like turbidity or other parameters depending on the situation. For example, as organic material breaks down, it can leave a sheen on the surface of water that is easily mistaken for an oil sheen.
3. Create Access to Sample
Clearing blackberries and other debris was mentioned in the safety section to avoid trips and falls, but creating sample access also helps with the integrity of the sample you are taking. Clearing space to visually inspect your outlet pipe allows you to identify and avoid any potential contamination issues. It also helps create a more comfortable sampling environment. Nobody wants to be poked in the back by blackberry thorns while trying to sample, and this scenario may make you lose focus on the sampling and lead to accidental contamination caused by poor sample handling techniques.
Some outlet pipes may be too close to the ground to easily fit a sample bottle. This should be identified early and taken care of on a dry day well before sampling. This may be remedied by simply moving a couple of rip-rap stones away from the outlet. In other cases, a small depression may need to be dug around the outlet pipe. Make sure this depression is stabilized, and that the disturbed dirt doesn’t cause turbidity issues downstream. Lining the depression with river-rock is a simple and long-lasting solution that uses natural materials. Other solutions may include using plastic products such as sheeting or even a plastic bucket or section of large-diameter pipe.
4. Sample Handling
As with any sampling scenario, sampling from an outlet pipe requires meticulous sample handling procedures. Many of these procedures are discussed in detail in our Sample Handling post, but highlights include:
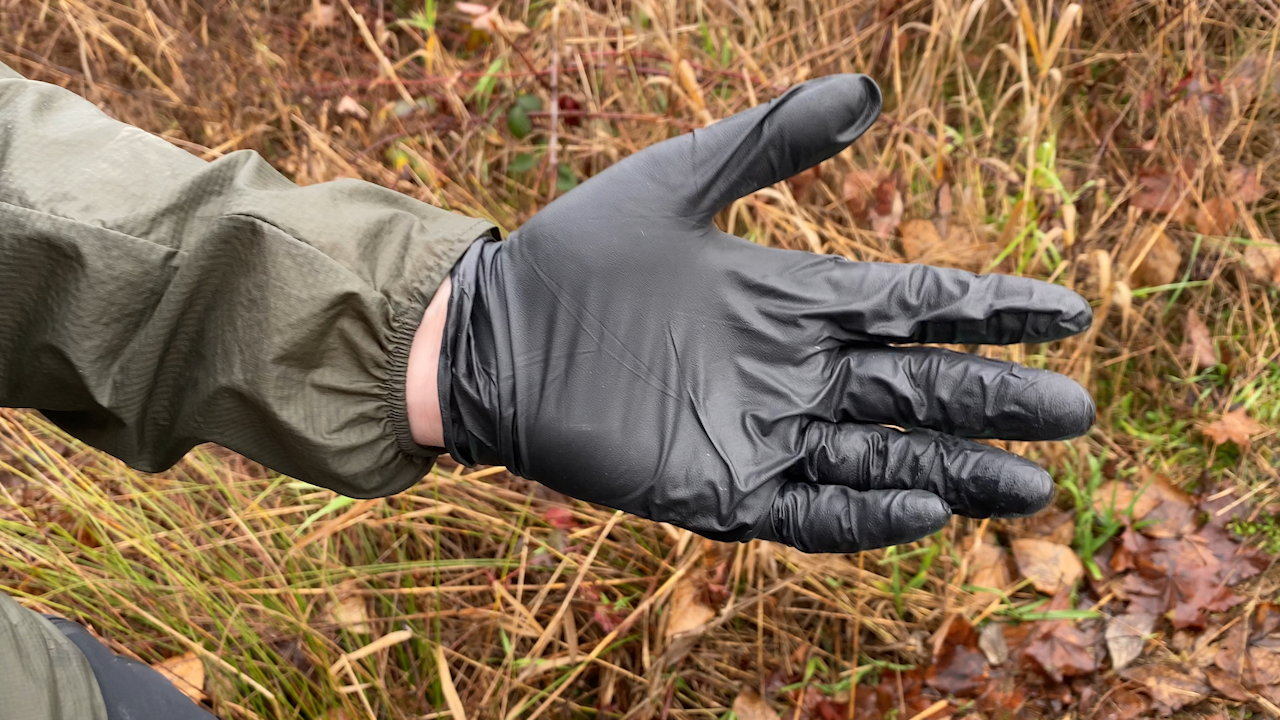
- Avoid contaminating your sample by wearing clean gloves and changing them frequently.
- Work with your lab to ensure you are using the correct bottles, that you have any preservatives that you need, and that you know what your hold times are.
- Keep your samples on ice from the time you sample until you drop them off at the lab.
- Keep the lid on your sample bottle for as long as possible, and avoid allowing anything but stormwater to enter your bottle.
- Check that your bottle labels match your COC and sample locations to avoid any mixups.
- Take notes of sampling conditions.
- Keep all data, notes, and other materials organized.
For more video content covering a wide range of stormwater topics, please visit our YouTube page!